How to Register Your App on KS Pay
Registering your app on KS Pay is simple and will help you integrate your application with the platform smoothly. This guide will walk you through every step of the registration process—making it as easy as possible for you. By following these steps, you'll be able to quickly set up your app, unlock KS Pay’s features, and ensure your users have a secure experience. Let’s dive in!
Step 1: Log In to your Kalp Studio Account
-
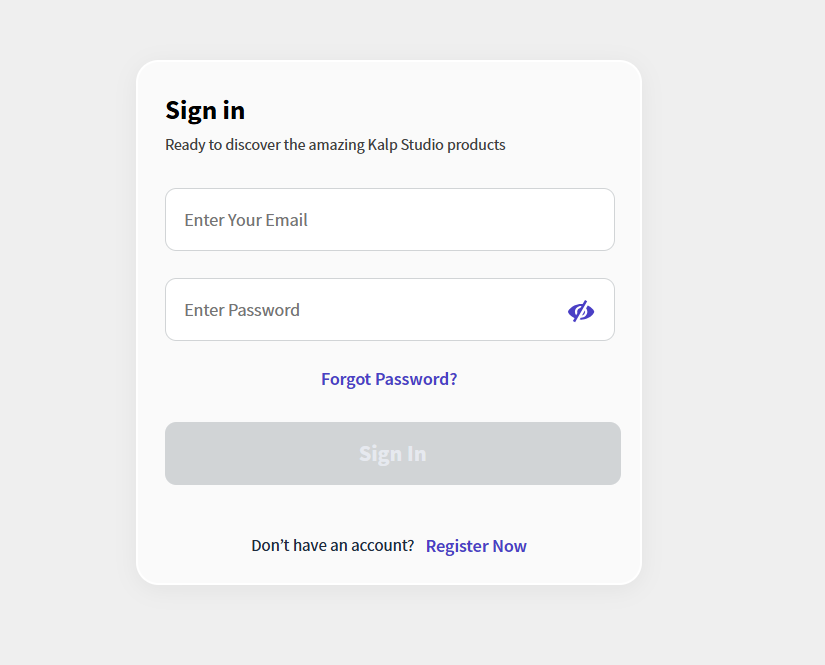
Navigate to the Kalp Studio sign-in page: Enter the URL for the Kalp Studio login page
-
Enter your email address: Locate the "Enter Your Email" field on the sign-in form and enter your registered email address.
-
Enter your password: Find the "Enter Password" field and type in your Kalp Studio account password.
-
Click "Sign In": Once you have entered your credentials, click the "Sign In" button to access your Kalp Studio account.
Step 2: Navigating to the Applications Section
-
Locate the Sidebar Menu: Once logged in, you will see a navigation menu on the left side of the screen.
-
Click "Applications": Find the "Applications" icon in the sidebar menu and click on it. This will take you to the Applications section.
-
View Your Services: In the Applications section, you can see a list of services, products and apps you subscribed to.

Step 3: Accessing KS Pay from Kalp Studio Dashboard
-
Once logged in to your Kalp Studio account, navigate to the Dashboard.
-
From the Dashboard, click on KS Pay to be redirected to the KS Pay application page.
-
Here, you'll have direct access to all KS Pay features without the need for additional login steps.

Step 4: Access the App Registration Page
-
If you haven’t registered any apps yet, the page will display a prompt saying, "You have not registered any Application yet", as highlighted in the screenshot.

-
Click on the "Add App" button to start the app registration process.

Step 5: Fill in App Registration Details
You will be directed to the Register an App page with the details to fill, as shown in the screenshot below:

Here, fill in the following details:
-
Upload your app logo (Optional): Allows optional upload of a logo image (JPG, JPEG, PNG, max 100KB).
-
App Name: Mandatory name of the application.
-
Email: Mandatory email address for contact.
-
Address: Mandatory address selection for the application.
-
Phone Number (Optional): Optional phone number including the country code.
-
Country: Mandatory country selection for the application.
-
State (Optional): Optional state selection for the application.
-
City (Optional): Optional city for the application.
-
Zip Code/Postal Code: Mandatory zip/postal code for the application.
Step 6: Submit the App Registration
After entering all the required information, click on the "Add App" button to register your app.

Click on cancel button to discontinue the registration process.
A confirmation message will appear on your dashboard indicating that your app has been successfully registered, as shown in the screenshot below.

Once registered, your app will appear on the dashboard with an App ID. You can enable or disable the app, or edit its details as needed.
By following these steps, you can easily add app to the KS Pay platform, ensuring a smooth and secure user experience.